
Choosing the right ADAS calibration targets is one of the most important equipment decisions a shop can make. Get it right and you reduce rework, protect your reputation, and keep customers safe. Get it wrong and you risk inaccurate calibrations that could compromise the very systems designed to prevent accidents.
This guide explains what ADAS calibration targets are, when shops need them, the different types available, and what to look for when selecting a system. John Bean manufactures ADAS calibration systems and targets at our facility in Conway, AR, and has spent years helping shops build efficient, accurate calibration workflows.
What Are ADAS Calibration Targets?
ADAS calibration targets are physical reference points used during static ADAS calibration. Technicians position them in front of, beside, or behind a vehicle so that sensors, particularly forward-facing cameras and radar, have a known reference point to lock onto during the calibration process.
Targets do not work as standalone equipment. They are used alongside diagnostic scan equipment, calibration software, and OEM-specific procedures to complete the calibration. Think of them as one piece of a larger system.
Static vs. Dynamic Calibration
Understanding targets starts with understanding the two main types of ADAS calibration:
- Static calibration is performed in a controlled shop environment. The vehicle is stationary, and technicians use calibration targets placed at precise distances and angles to align the sensors. This is where ADAS calibration targets come into play.
- Dynamic calibration is performed while driving the vehicle under specific conditions, such as at a set speed on roads with clear lane markings. No physical targets are required for this method.
Some vehicles require one type, some require the other, and some require both. OEM requirements dictate which method applies for a given vehicle and repair scenario. Confirming the correct procedure before investing in targets is a critical first step.
When Do Shops Need ADAS Calibration Targets?
Shops that perform ADAS calibrations need targets any time a repair triggers a static calibration requirement. Some of the most common triggers include:
- Windshield replacement — Forward-facing cameras mount to or near the windshield. Any glass replacement typically requires camera recalibration.
- Collision repairs — Front or rear end damage often disturbs sensor alignment and mounting points.
- Suspension and steering work — Changes to ride height or alignment angles can shift sensor orientation.
- Sensor or module replacement — A new sensor must be calibrated before it can function correctly.
- Alignment changes — Even minor geometry adjustments can affect systems like lane departure warning or adaptive cruise control.
The key takeaway: always verify whether the repair triggers a static calibration, a dynamic calibration, or both before choosing your target setup. That decision shapes every equipment choice that follows, from target type to space requirements.
Types of ADAS Calibration Targets
Not every shop needs every type of target. Knowing the main categories helps you invest in what actually applies to your vehicle mix and the calibrations you offer.
Camera Targets
Camera targets are the most common type. They feature specific patterns, shapes, or images that forward-facing cameras use as a reference point during calibration. Placement requirements, including distance, height, and angle, vary by OEM and vehicle model.
Radar and Reflective Targets
Radar calibration targets are designed to reflect radio waves back to the sensor. These targets calibrate radar-based systems like adaptive cruise control and forward collision warning. The shape and material of a radar target matter since the sensor reads the reflection, not a visual pattern.
Heated Targets
Heated targets are used to calibrate thermal imaging cameras, which are found on vehicles equipped with night vision systems. These targets emit a controlled heat signature that the infrared camera can detect and use as a calibration reference.
LiDAR Targets
LiDAR targets reflect light pulses back to the sensor, allowing the system to verify distance and spatial accuracy. As LiDAR becomes more common in advanced vehicles, shops servicing those models will need compatible targets.
Factors to Consider When Choosing ADAS Calibration Targets
Before selecting a target system, shops should evaluate a few key factors:
Types of Vehicles Serviced
Target requirements vary significantly across makes, models, sensor types, and model years. A shop focused on domestic vehicles will have different needs than one servicing a broad mix of European and Asian imports. Build out your target inventory around the vehicles you actually see.
Calibrations Offered
Shops only need targets for the types of calibrations they perform. A shop that sends dynamic calibrations to a dealer does not need the same target library as one handling all calibration types in-house.
Shop Space and Configuration
Static calibrations require a controlled environment, typically at least 25 x 30 feet of clear space, level or near-level flooring, controlled lighting, and no highly reflective surfaces that could interfere with sensor readings. Your shop layout will influence which systems are practical.
Target Costs and Budget
Some targets are inexpensive and widely available. Others are proprietary, vehicle-specific, or difficult to source. Factor in not just upfront cost, but long-term availability and whether you will need to expand the target library as new vehicles come in.
What Should Shops Look for in an ADAS Target System?
Once you understand your needs, focus on system features that reduce setup time, minimize placement errors, and keep results consistent across technicians.
Guided Target Positioning
Manual target placement using tape measures and lasers creates room for human error. Look for systems that guide technicians to the correct position using visual cues, color-coded indicators, or 3D guidance tools. These features reduce setup time and make the process repeatable across your team.
Placement Validation
Accurate placement is only valuable if you can verify it. Systems that confirm target position meets OEM specifications and generate a documented report protect the shop from liability and give customers confidence in the work. Validation also reduces costly rework.
Mobility and Storage
Not every shop has a dedicated ADAS calibration bay. A system with wheeled, lockable stands and compact storage options allows shops to set up in different areas of the facility and store equipment without taking up permanent floor space.
Training Time and Repeatability
The best system is the one your technicians can use correctly and consistently. Evaluate how quickly a new technician can get up to speed, and whether the system produces the same results from one technician to the next.
Additional Equipment Needed for ADAS Calibrations
Targets are just one part of a complete ADAS calibration setup. Most calibrations also require:
- Frames and stands — Hold targets at the precise height and angle required by OEM procedures.
- A target positioning system — Tells technicians exactly where each target needs to go, removing guesswork from placement.
- A controlled environment — Adequate space (at least 25 x 30 feet), level flooring, consistent lighting, and no interference from reflective surfaces.
- Calibration software — Provides OEM-specific procedures and requirements, ensuring every calibration follows the correct protocol for the vehicle being serviced.
Investing in targets without the supporting equipment and environment will produce unreliable results. Build out the full workflow, not just the targets.
How John Bean ADAS Targets Support Modern Calibration Workflows
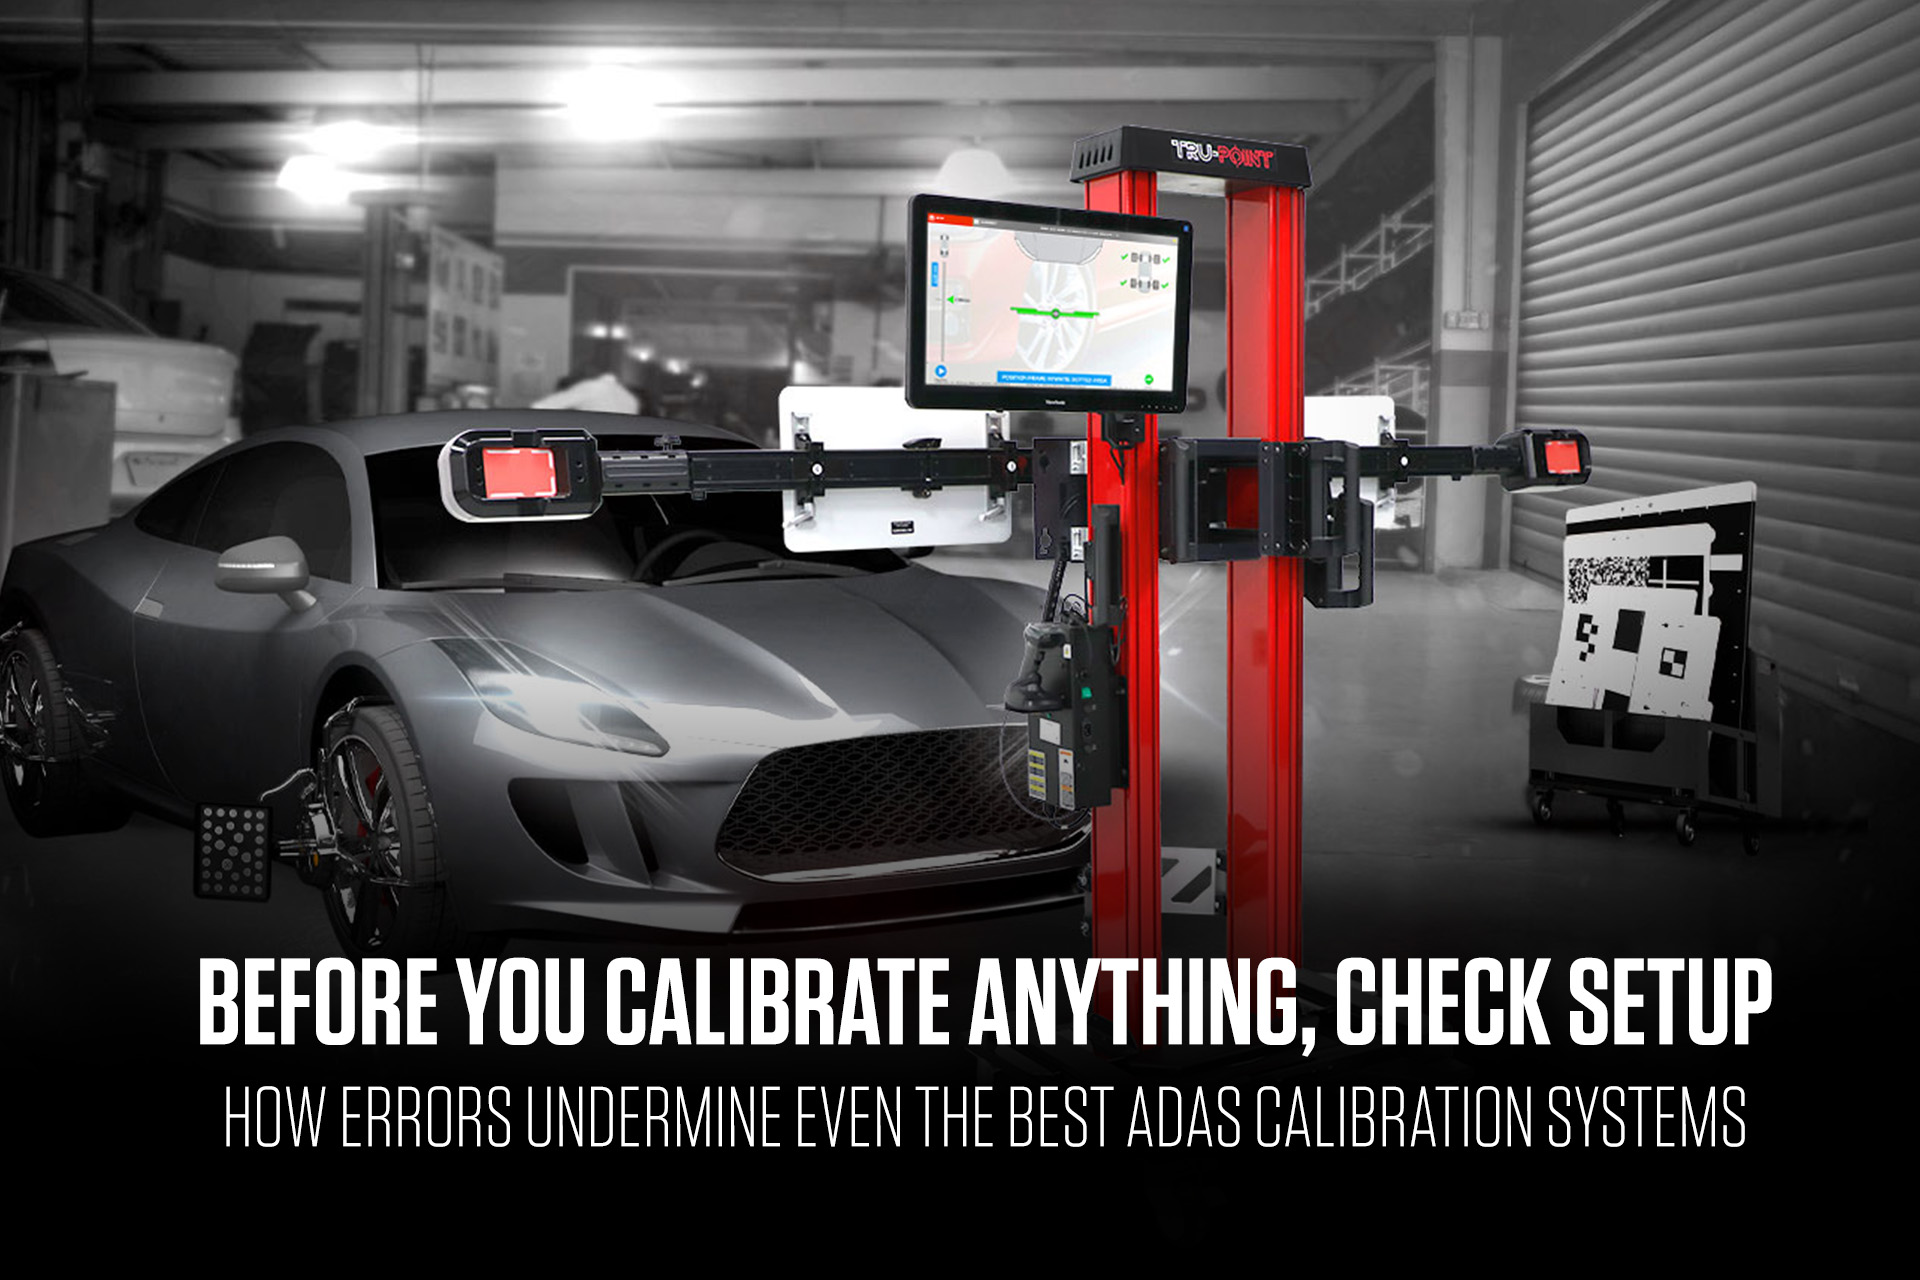
John Bean manufactures ADAS calibration targets and systems at our facility in Conway, AR. Our Tru-Point and EZ-ADAS systems are built around the real-world constraints shops deal with every day.
Camera-Based Measurement with Tru-Point
Tru-Point replaces traditional tape measures and lasers with high-accuracy cameras that measure target positioning in three dimensions. This eliminates a significant source of placement error and speeds up the setup process. The system also produces a documented validation report confirming that each target was placed according to OEM specifications, giving shops and customers a verifiable record of the calibration.
Automatic Floor Compensation
One of the most practical features of Tru-Point is automatic floor compensation. The system measures the vehicle’s height from the tire contact patch at all four wheels and adjusts for uneven flooring up to 4 degrees. Shops do not need a perfectly level rack or a dedicated alignment bay to perform accurate calibrations.
Color-Coded Target Placement
A color-coded guidance system walks technicians from red to green as they position each target, indicating whether placement is off or on-spec in real time. This makes the process accessible for technicians at any experience level and keeps setup time consistent.
Pointer Targets and 3D Mapping
Tru-Point uses pointer targets to map the 3D relationship between the vehicle, the floor, and the calibration equipment. This spatial mapping creates the accurate, precise foundation that the rest of the calibration depends on, and it does so without requiring technicians to manually measure or calculate positioning.
EZ-ADAS for Compact, Mobile Shops
The EZ-ADAS system offers a space-saving, foldable design with a 3D app to guide technicians through each calibration. Its compact footprint makes it a strong fit for shops with limited bay space that still want to offer reliable static calibrations.
All John Bean target stands feature wheels for easy repositioning and locking mechanisms to anchor them securely during calibration.
For a full overview of our ADAS calibration systems and target options, visit the John Bean ADAS Calibration Systems page.
Conclusion
Choosing the right ADAS calibration targets comes down to four things: selecting the correct target type for your vehicle mix, placing targets with precision, meeting OEM specifications, and building a workflow your team can repeat consistently.
The features that matter most, including guided placement, placement validation, floor compensation, and mobility, are not extras. They are the difference between a calibration workflow that produces reliable results and one that creates rework and liability.
If you are ready to explore ADAS targets and systems built for modern shop demands, browse John Bean ADAS calibration equipment or review our complete ADAS calibration guide to go deeper on how these systems work.
 Before You Calibrate Anything, Check Setup. How Errors Undermine Even the Best ADAS Calibration Systems
  Precision Has a Smaller Footprint Than You Think How John Bean Helps Shops Turn Tight Spaces into High-Value Service Bays
 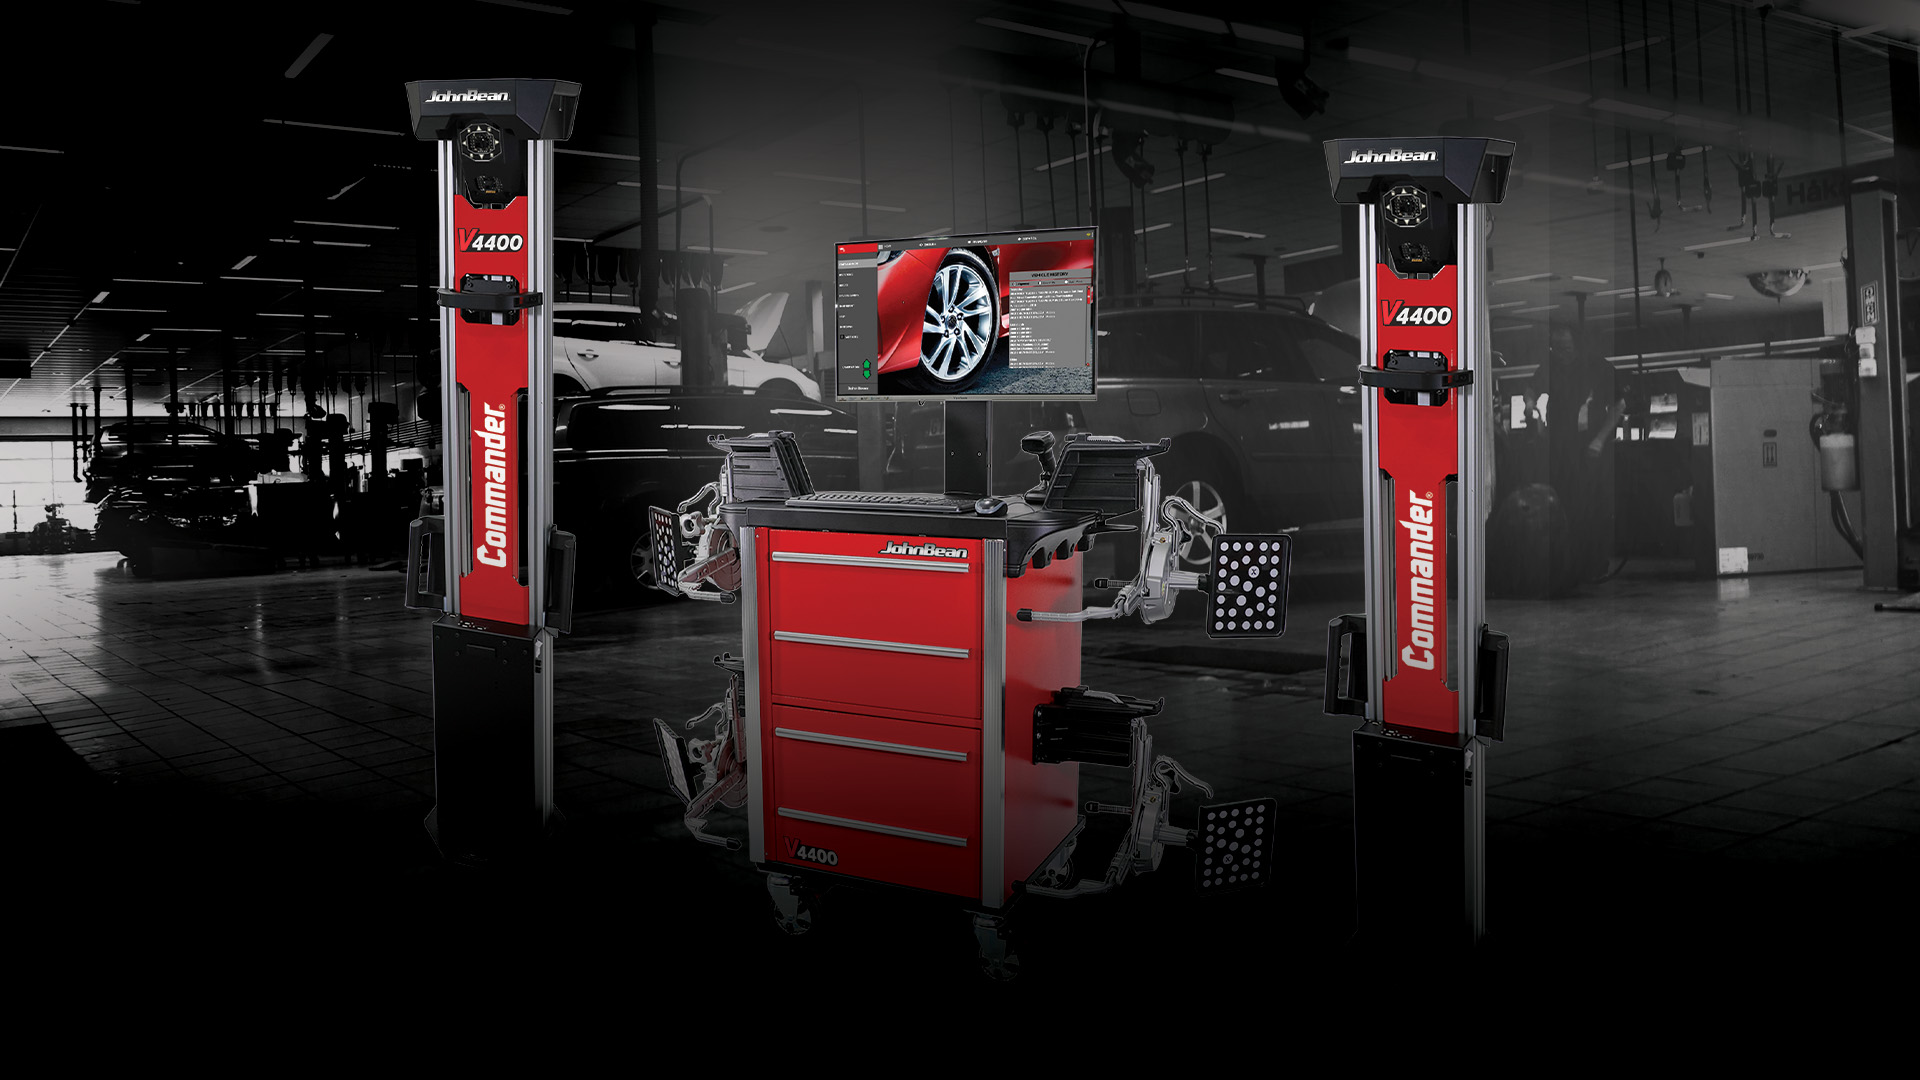 Next Generation Alignment: How the V4400 Commander™ Redefines Shop Efficiency
  How Modern Wheel Alignment Machines Reduce Comebacks and Boost Shop Profitability
 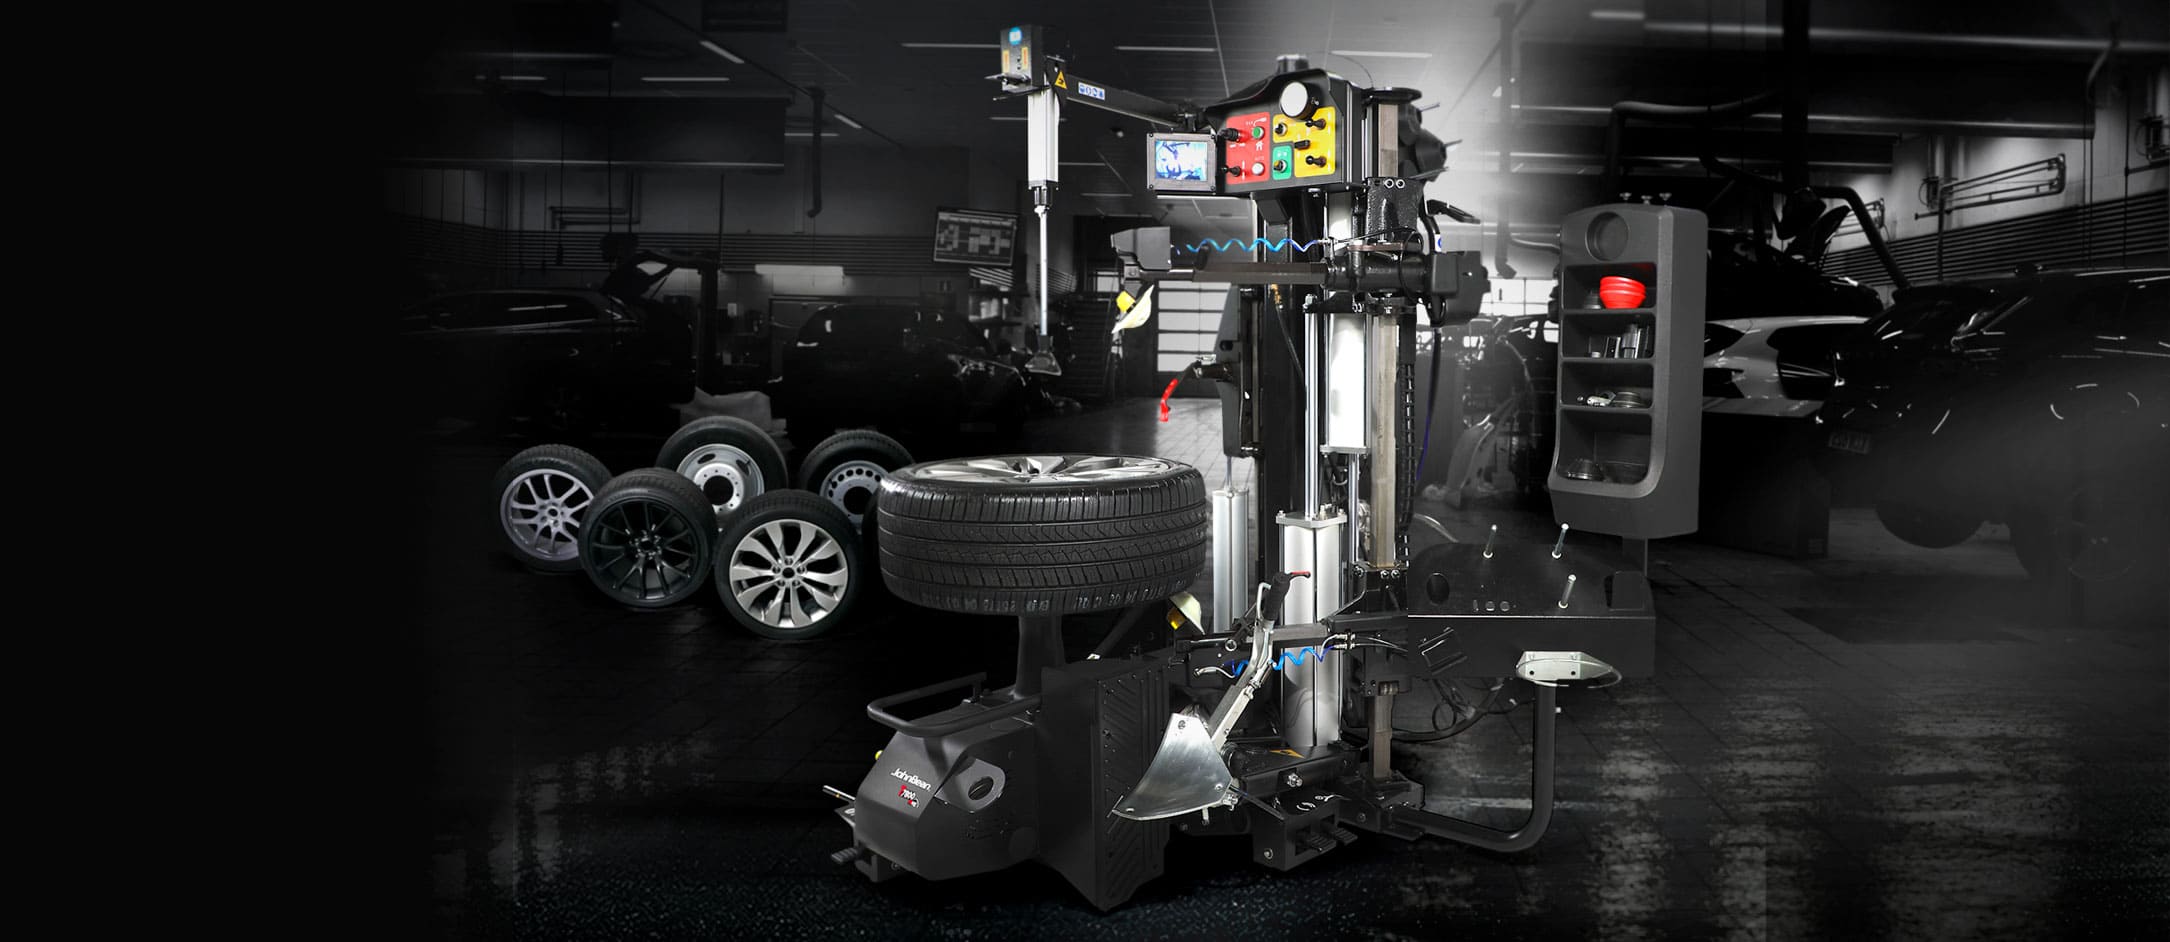 How the Right Tire Changer Increases Shop Efficiency and Customer Throughput
 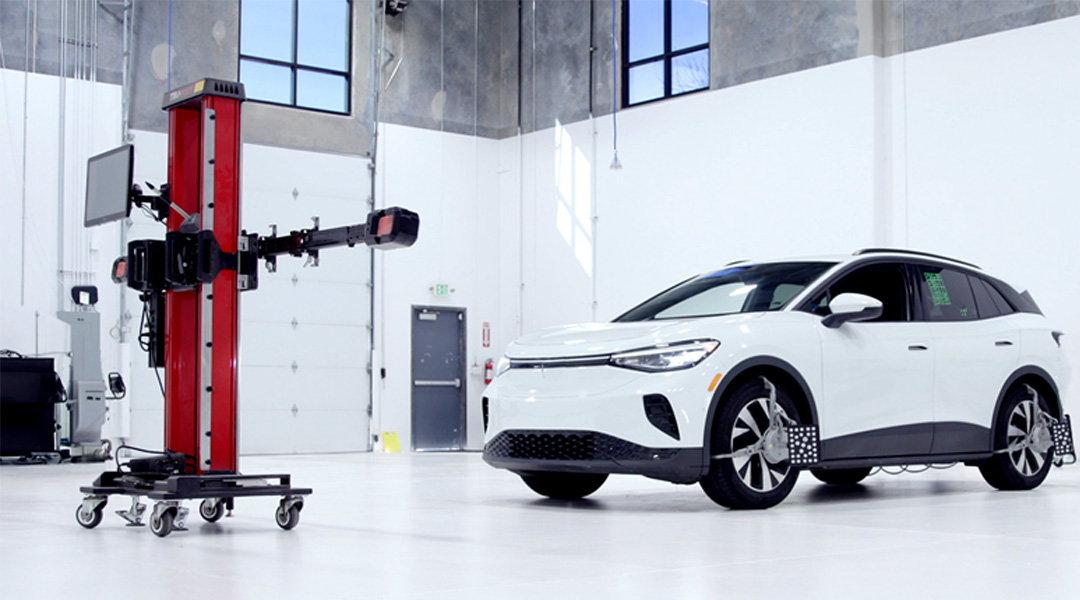 Why Combo ADAS and Alignment Machines Hurt Shop Productivity
  Comparing Traditional vs. Computerized Wheel Alignment Systems (3D & CCD)
 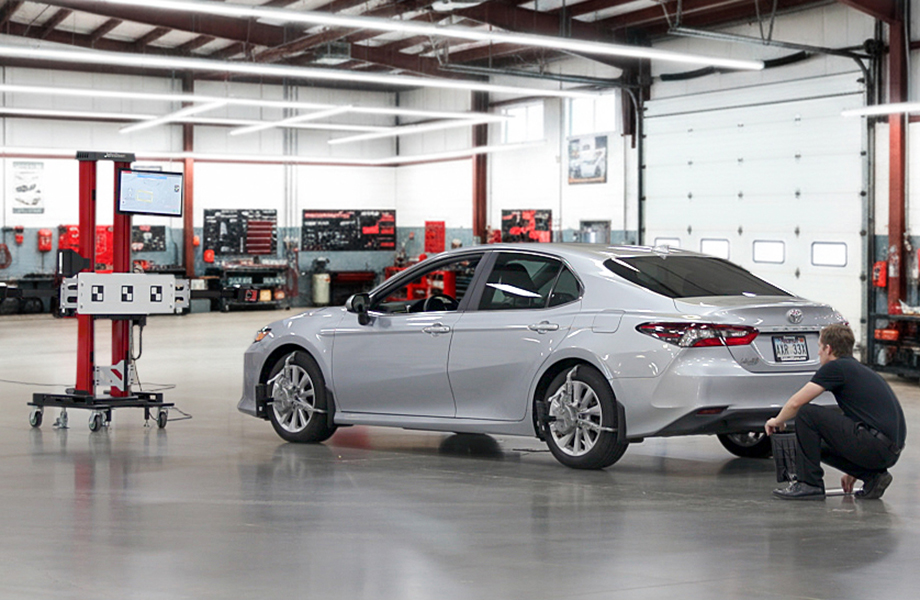 How to Run a Successful Auto Repair Shop
 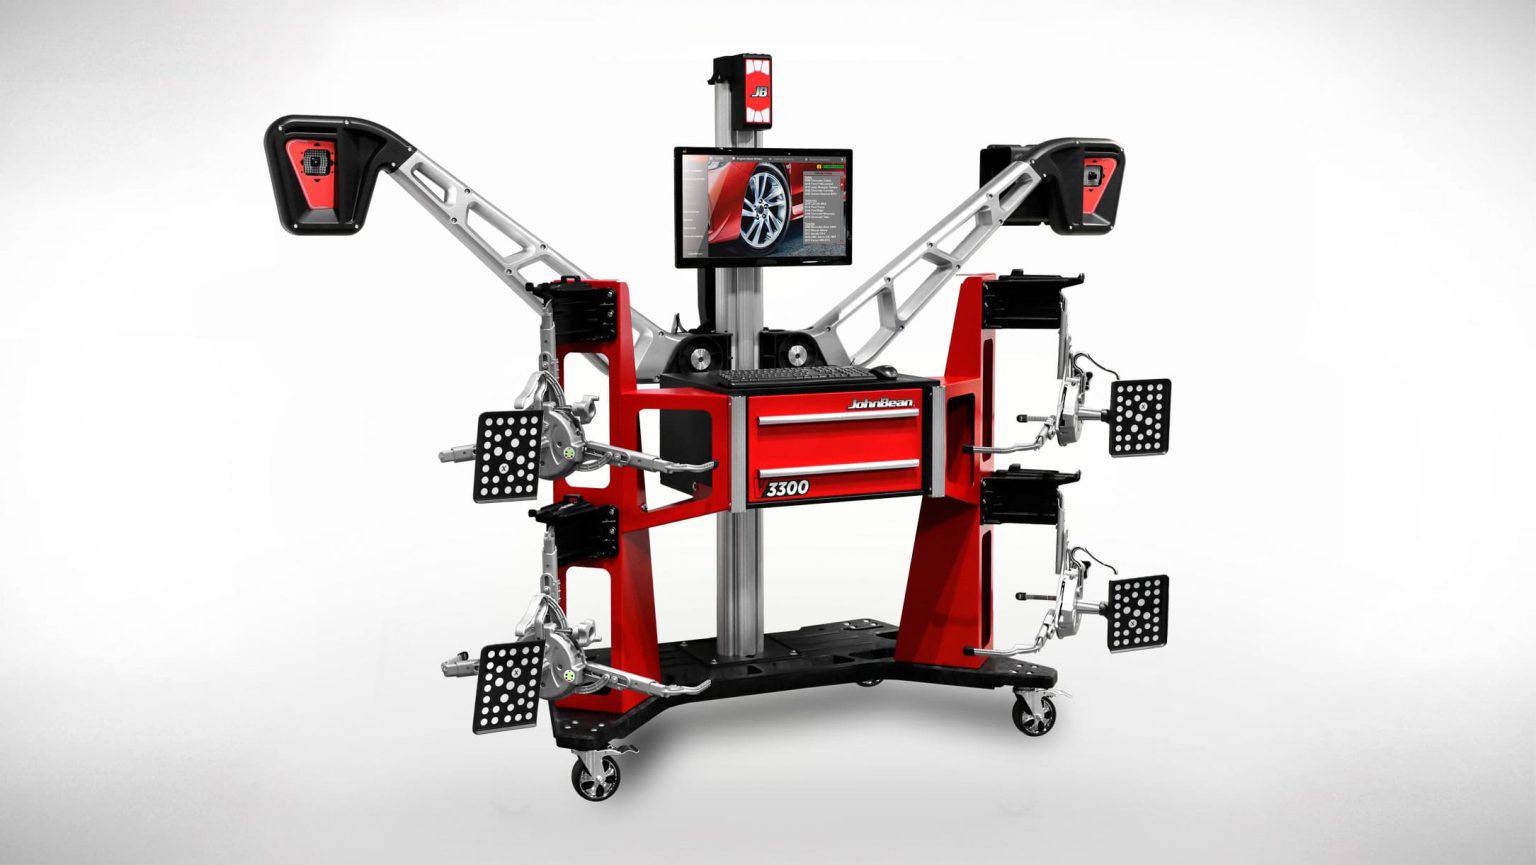 How to Choose the Best Wheel Alignment Machine for Your Shop